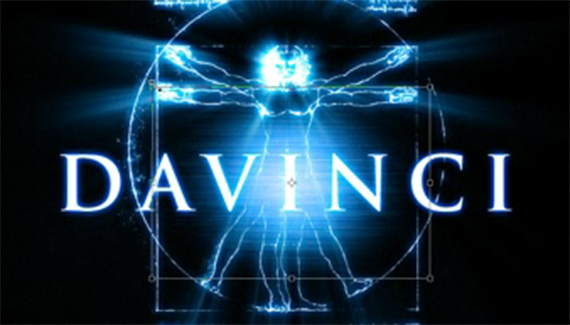
You can create this eye-catching effect using just a single layer style and applying it to all the different elements of your design. This tutorial touches on alpha channels, blur filters, and layer styles.

You can create this eye-catching effect using just a single layer style and applying it to all the different elements of your design. This tutorial touches on alpha channels, blur filters, and layer styles.

I realy like this one, thank you!
I like this tutorial.
The final image is wonderful.
Thank You for these great tutorials, all the others helped me also.
Like this one. I mean… realy))
Awesome tutorial, just a minor error, Da Vinci is composed by 2 words.
Awesome tutorial, there’s only a little error, Da Vinci is 2 words though.
thanks for all your tutorials, they are awsome!
and this davinci design looks like a movie poster, pretty cool.
I like this one! Thanks!
I’m defiantly going to do this myself. Absolutely amazing fx.
That was fantastic! What a terrific way to learn new stuff. And there’s always something new to learn in Photoshop!
I realy like this tutorial but it sorta sucks u cant do this in cs3…. you cant get the aplha thing like u do but i managed it then i cudent mvoe it to a new document so it sucks but its good what uve done 🙂