
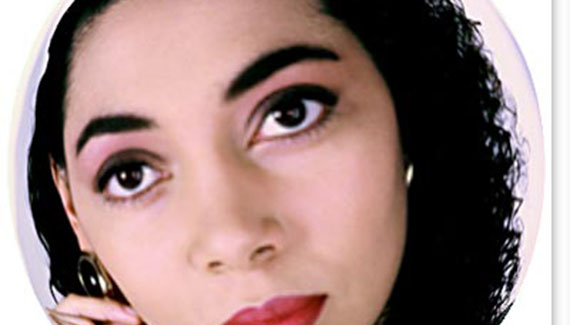
It’s simple to convert a square picture to a round picture by simply making a circular selection and adding a mask. However, how about converting a square image to a sphere? Here’s a trick to keep things looking good.
1. Open a square image in Photoshop or crop an image to a square. (If the image has layers, flatten or merge the layers to apply the effect to the image as a whole.)
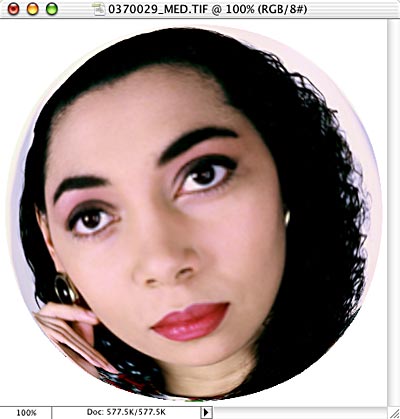
2. Image> Canvas Size. Increase the size of the canvas to 150%. (We’re using PhotoSpin’s image #0370029.)

3. Filter> Distort> Spherize. Drag the slider all the way to the right and leave the pop-up menu set to Normal.
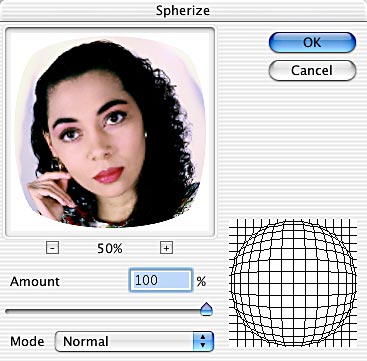
4. The resulting image isn’t completely round, so use the keyboard shortcut Command-F (Mac) or Control-F (Windows) to apply the filter again with the same settings.
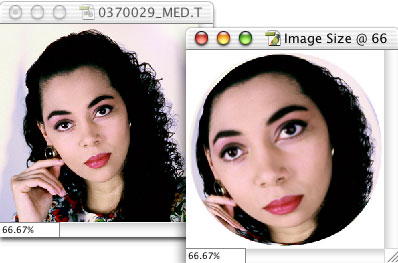
5. Image> Image Size can reduce your image to the original size. Check the Constrain Proportions and Resample boxes. In the upper part of the dialog box, switch from Pixels to Percent. Enter 66.67% and click OK. Here’s a comparison of the before and after images.

thank you! excellent, easy to follow step by step instructions.
cheers
that was easy! but i would like to know how to convert a square image into a heart like figure.
Easy to follow and it works! Thanks so much :}
Great post but how can you make the canvas round also