
Resizing In Camera Raw
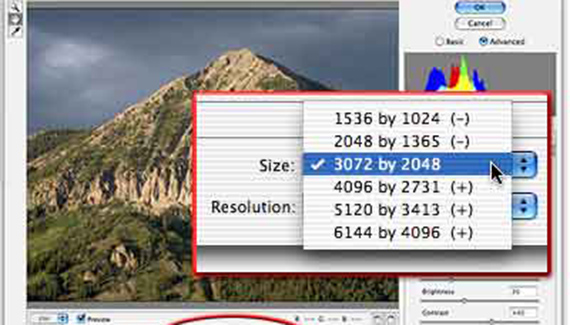
Photoshop’s Camera Raw includes a pop-up menu named Size that let’s you change the number of pixels in an image. But is it better than resizing with Photoshop’s Image Size command? Not dramatically. Located at the bottom-center of the Camera Raw plug-in’s window you’ll find the Size pop-up menu. By default, the menu is set to the pixel dimensions of image as captured by the camera. However, you have the option of resizing the image to (for most cameras) 50%, 66.7%, 133%, 167%, and 200%.

For most cameras, it makes little difference if you change the image size in Camera Raw or use the appropriate resampling algorithm in Photoshop’s Image Size dialog box. When increasing pixel dimensions in Image Size, use the Bicubic (Smoother) option; when decreasing pixel dimensions, use Bicubic (Sharper).
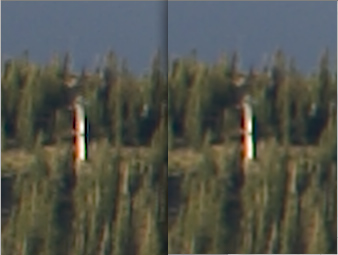
You might see some difference in areas of extreme contrast, spots where very light pixels border very dark pixels. Tests with a number of images show a slightly sharper image in these areas when upsampling in Camera Raw. In this example, the image on the left was upsampled to 200% in Camera Raw, while the image on the right was upsampled using Bicubic (Smoother) in Image Size. The difference is slight.
NOTE: According to Adobe’s Thomas Knoll, author of Camera Raw, when shooting with the Nikon D1X and the Fuji S2 Pro (which shoot non-square pixels), if you need to upsample, it’s best to increase the image size one step in Camera Raw. (You can then resize to your required pixel dimensions in Image Size.)
So, should you upsample in Camera Raw? If one of the preset sizes matches your final pixel requirements, sure–it’s more convenient. If, however, you need pixel dimensions other than those listed in the Size pop-up menu, stick with Image Size and resample once.
