
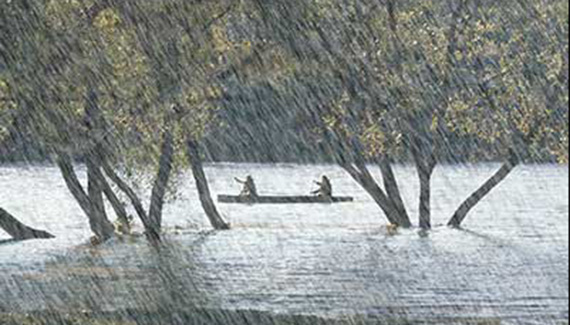
The mode of an image can be completely changed by adding rain. Whether a driving storm or a few drips, it takes just a few steps to produce perfect precipitation. We’ll use PhotoSpin’s image PS018068 for this example, turning an idyllic canoe ride into a soggy nightmare.

Add a new layer to your image by clicking the New Layer button at the bottom of the Layers palette. At the top of the Layers palette, change the new layer’s blending mode from Normal to Screen and reduce the layer’s opacity to about 80%. (Changing the more and reducing the opacity enables you to monitor the effect as it’s applied.)
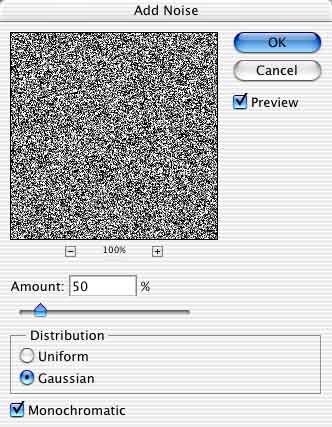
Fill the layer with 50% gray (by default, the top-right swatch in the Swatches palette).
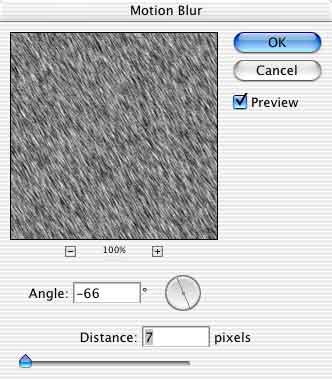
Change the noise to “rain” with the Blur> Motion Blur filter. Adjust the angle to suit the content of your image and keep the Distance setting between 3 and 10, depending on the pixel dimensions of your image.
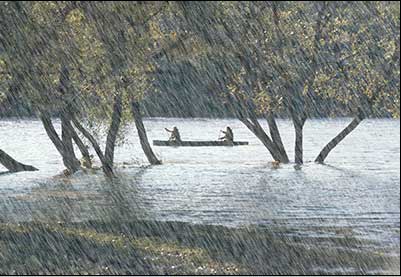
Adjust the opacity of the layer in the Layers palette to suit your needs. Here’s the effect so far, which is generally acceptable for most purposes:
We can fine-tune the look a bit for more exacting situations. Duplicate the rain layer by dragging it to the New Layer button at the bottom of the Layers palette. Make the lower of the two rain layers active by clicking on it. Apply a very slight Gaussian Blur, perhaps 0.7 pixels. Change the layer’s blending mode from Screen to Hard Light and reduce the opacity to about 40%. Press V on the keyboard to activate the Move tool. Using the arrow keys on the keyboard, offset the layer to the right and upward just a bit. Select the command Edit> Transform> Rotate. Take advantage of Photoshop CS’s “scrubby” sliders and click on the Rotate field’s icon (to the left of the field itself) and, with the mouse button down, drag to change the angle of rotation. In Photoshop 7, click on the Rotate field and enter 1.5, then press Return or Enter on the keyboard.
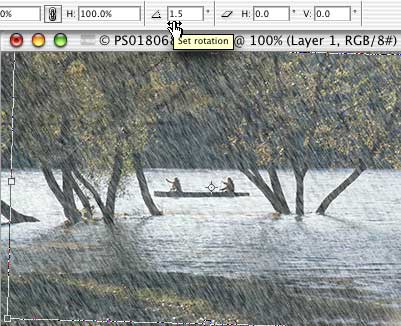
The second rain layer (blurred, offset, and rotated) provides a little more depth to the effect. [Insert Image-06]


This is a really cool effect. I did it on a photo and it looks great. But not as good as your version.
But thanks anyway.
Scott.
Very very cool effect, although I think it looks better without the second layer, but that’s just me…