
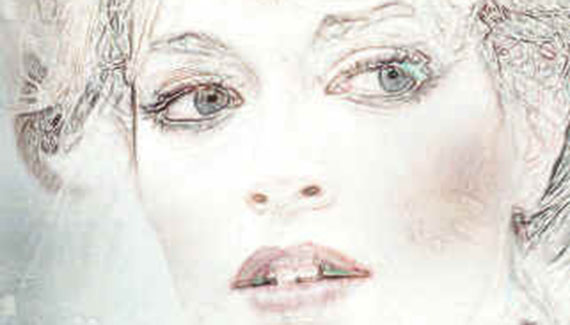
This week I’ll show you a quick way to turn your photos into a line art drawing. This effect is fairly popular, but I’ve not seen many tutorials on how to get from point A to point F (i.e. finished image). So without further ado…
Open your Photo.

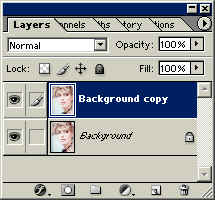
Duplicate the Background Layer.
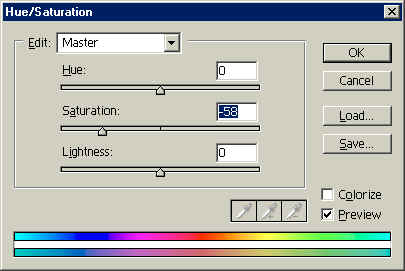
Go to Image>Adjust>Hue/Saturation. Reduce the saturation of the Background Copy layer.

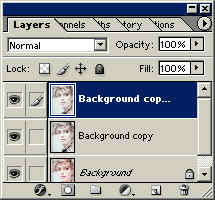
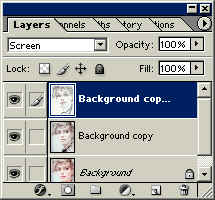
Duplicate the Background Copy Layer.
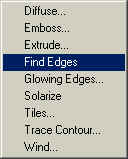
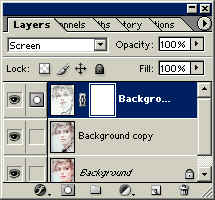
Go to Filter>Stylize>Find Edges and apply it to the newly created, topmost layer.
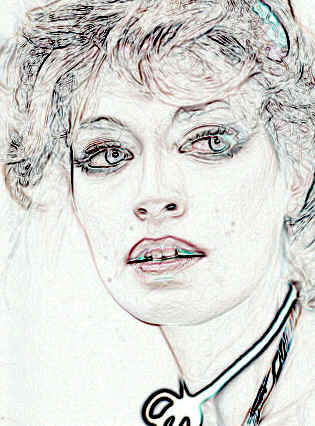
That is really a bit overbearing, so lets see if we can’t make the line art a bit more subtle. Set the top layer blending mode to ‘Screen.
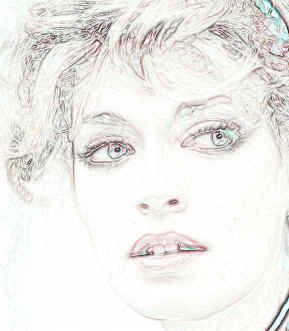
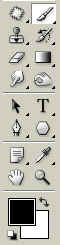
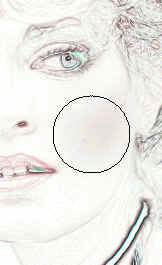
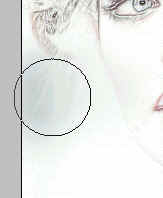
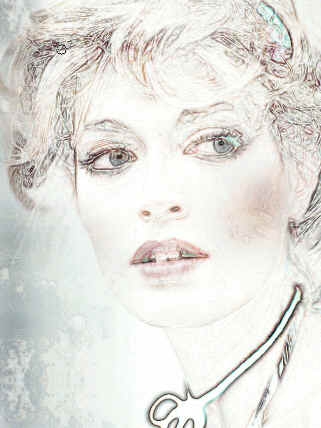
Click the ‘Add a Mask’ icon on the bottom of the Layers Palette. Make sure the foreground Color is set to Black. Click on the Paint Brush Tool, select Airbrush and get a large, soft brush. Start lightly painting areas of the image where you would like some color to spill through, such as the cheeks, the background, and so forth.
![]()
As an added touch, there is a quick way to ‘age’ the painting using a pattern fill. For instance, here is a pattern I created last night. I’ve created a new layer above the face layers, and filled it with my pattern.
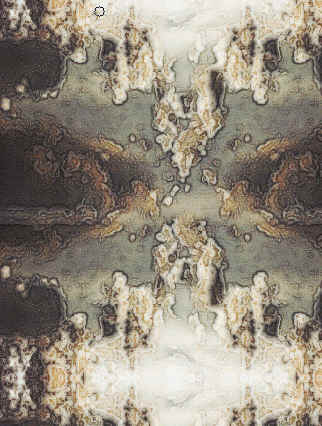
Not I’ll just set the Blending Mode for the top layer to ‘Soft Light’ and here’s the image:
Just a quick note- I’m just finishing up dozens of add-ons specifically for Photoshop 7, so please stop back Action Fx. Take care!

an ideal way to prepare a photographic subject for painting
great corey, thanks for Detailed explanation