

Let’s say you want to create some text that looks as though it is disappearing off into the distance. If you notice, you cannot transform text with perspective transform function. If you rasterize the type before you transform it, the text will look blurry. This seems like a real problem that keeps you from creating this effect. However, there is a way to do this, and we will look at it this week.
First let’s create some text. I used Impact.
The we want to turn this text into a shape. This will allow us to transform its shape in any way we want. We can skew it and give it perspective. To do this go Layer -> Type -> Convert to Shape. After this is done, we will no longer have the ability to edit the text. So make sure you have your text the way you want it before you do this.
Above is what your canvas will look like when you have converted the text into a shape.
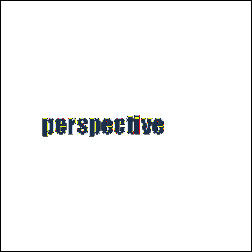
Next we are going to transform it. Go Edit -> Transform -> Perspective. Grab either the top or the bottom left corners of the transformation box. Pull the handle on the corner up or down depending on which corner you chose. This will apply a perspective transformation to the text shape.
Now that this is done, we will need to rasterize the shape in order to remove the shape path. Go Layer -> Rasterize -> Shape. This will create a truly rasterized image.

Notice how clean and crisp the text is after doing this. If we were to rasterize the type before we transformed it, we would end up with a fuzzy edge. By first transforming our text into a vector shape, we prevent this from happening.
This is a great little trick that you will probably find use for at some point. I have used it several times in the past. It only takes a second to do, but it makes a much better final product if you transform the shape first rather that rasterizing and then transforming.

Great been looking for a perspective text, tut for a while now…a REALL tut…this is 5star!!! perfect thanks!
second paragraph –
The we want to turn this text into a shape.
should be –
Then we want to turn this text into a shape.
Fantastic tutorial. Simple and concise; thanks very much!
Just what I was looking for. Thank you!
Bravo. Thanks
Exactly what I was looking for. And simple too! Thank you!
If you’re looking to keep the text editable, I’ve found a work-around. Transform your text using the Warp mode, set your warp to any of the options (doesn’t matter), and set your bend to 0%. Then you can simply modify the horizontal or vertical distortion to get your desired effect. Text remains editable – works like a charm! =)