control alt delete command option what? too many shortcuts to follow, not sure what versions of PS and which operating systems they all correspond to, but many don’t work for me, and I can’t seem to figure out the non-shortcut way of executing the commands…
this key short cut is not working…option control tild….
you need to redo this for the ones that dont have their short cuts that dont work…
so frustrating to not be able to do this
Just to let you know that the shortcuts on this particular video, do not work on a PC… I tried, and tried again, I went through “color range” “highlights”, and I could not get any results… I am a little sad, because I liked that effect…
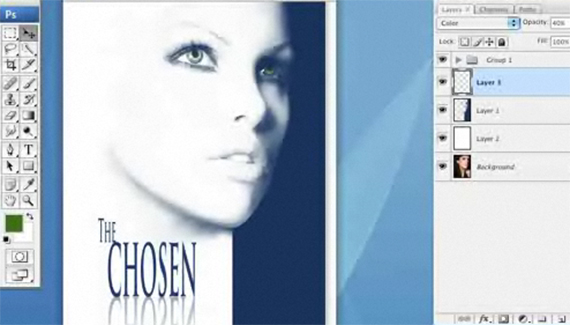


I can’t use that ctrl+alt+tilda tool, but effect at the end looks rly cool.
Nice,works perfect 🙂
I have a problem when I press on the button next to the 1 key, on that wavey line.
Bothing happens.
In CS4, you need to use ctrl-alt-2 instead of ctrl-alt-tilde to load the luminosity as a selection.
control alt delete command option what? too many shortcuts to follow, not sure what versions of PS and which operating systems they all correspond to, but many don’t work for me, and I can’t seem to figure out the non-shortcut way of executing the commands…
this key short cut is not working…option control tild….
you need to redo this for the ones that dont have their short cuts that dont work…
so frustrating to not be able to do this
Hello Corey,
Just to let you know that the shortcuts on this particular video, do not work on a PC… I tried, and tried again, I went through “color range” “highlights”, and I could not get any results… I am a little sad, because I liked that effect…
Gisèle
Using CS5 PC Ctrl Alt #2 loads the luminosity of selected image.
I have a PC, Windows XP and CS2 – the keyboard shortcuts work for me.