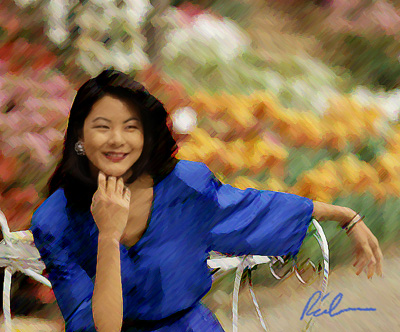
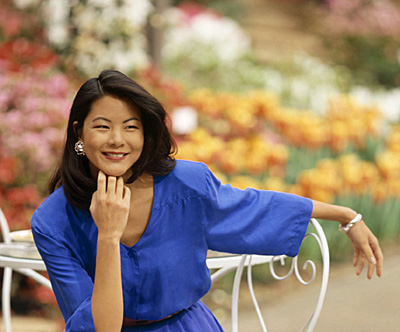
Photograph courtesy of Photospin.comThe Filter Gallery is a very cool way to get the filter effects you want; whether you’re turning a photo into a chalk rendering or a multi-media drawing. Here’s a quick way to combine a photo and the Filter Gallery to get a distinctive look.
Step 1
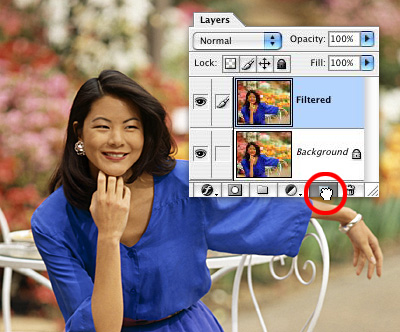
Start by duplicating the background layer by dragging it to the Duplicate layer icon at the bottom of the layers palette. Name this layer Filtered– it’s the one we’ll be running the Filter Gallery on.
Step 2
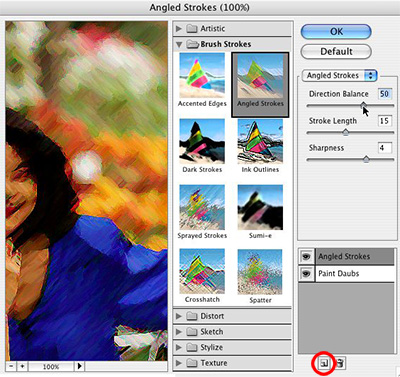
The Filter Gallery lets you run different filters at the same time, and the large preview window lets you see the final effect in real time. You can adjust each filter independently; change the order the filters run in; even run the same filter twice. To add a new filter, just tap on the page icon at the bottom of the palette. (I was looking for a painterly effect, and a combination of Angled Strokes and Paint Daubs seem to do the trick.)
Step 3
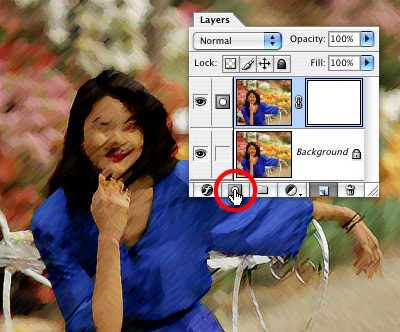
Add a layer mask to the Filtered layer by tapping on the Add layer mask icon at the bottom of the Layers palette.
Step 4
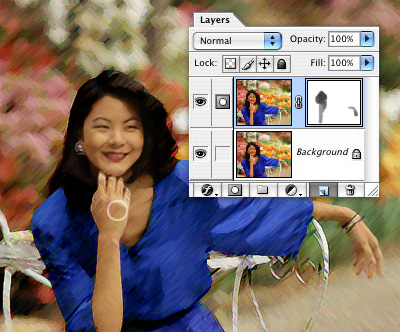
Paint in the layer mask with black and a soft round brush to bring in the original, clear image. (If you use a Wacom pen, set the Other Dynamics on the Brushes palette to react to pressure with Opacity– press firmly to bring in the original image, lightly to blend between the two.)
Step 5
Grab a small Chalk brush and sample a color from the image by holding down the Option key and clicking on an interesting color. Sign your name and you’re done– just print, frame and hang over the sofa!