
Crop and Straighten Photos
Photoshop CS includes the Crop and Straighten Photos feature. It enables you to scan a number of images at once and automatically separate that single scan into individual image files. However, sometimes you need to give it a little help…
Crop and Straighten Photos identifies the individual pictures within the scan and copies each to a separate file. If it identifies a crooked edge, it rotates the image. Since the process of rotation resamples the image, it can degrade the image quality somewhat. To avoid that automatic rotation, align your images square to the scanner’s glass before scanning. For smaller scanners, use the four corners of the bed. When working with larger scanners or smaller images, you can (carefully) use a plastic ruler or square to align the images. Do not scratch the glass!
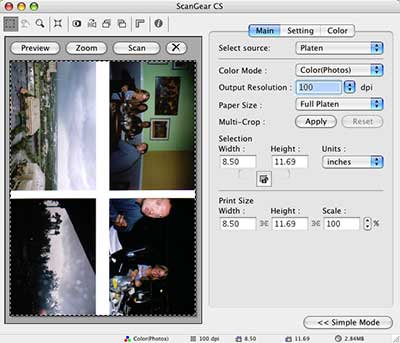
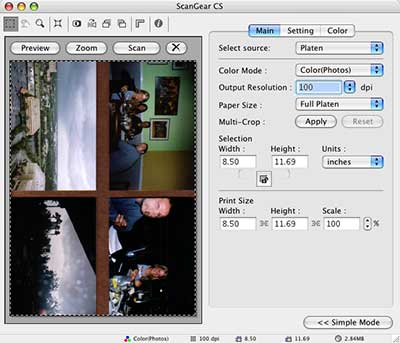
In the scanner’s preview window you’ll see what the Crop and Straighten Photos feature will be using. Note in this example that the white of the scanner’s lid is visible between the photos.
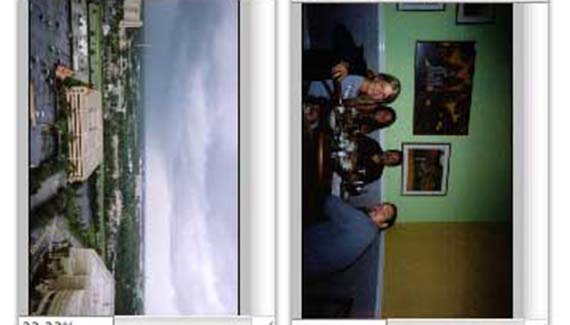
The initial scan has clearly-delineated edges and a uniform white area between the images – it should be excellent material for the Crop and Straighten Photos command, which is found in the File> Automate menu. Unfortunately, Crop and Straighten Photos had difficultly differentiating between the gray sky in the upper-left snapshot and the white of the scanner lid.
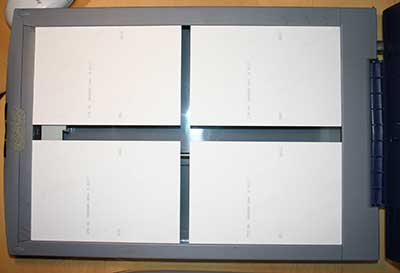
To make the job easier for Crop and Straighten Photos, we need only put a contrasting color behind the photos in the scan. Since the snapshot in the lower-left has black along an edge, we’ll need something other than black or dark gray. Red or a bright yellow would be fine or, as you can see here, the brown of a handy clipboard placed on top of the photos on the scanner’s glass gives excellent contrast.
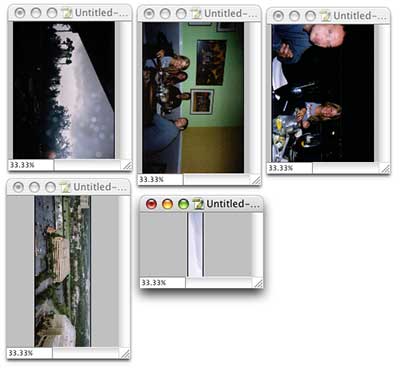
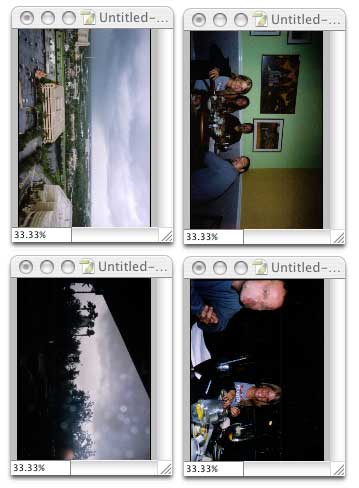
After scanning, the Crop and Straighten Photos feature has no problem properly identifying the edges of each of the four photographs.
Before scanning multiple prints for use with the Crop and Straighten Photos feature, take a look at the edges in the images. Find a large sheet of colored paper or other material (something that won’t scratch the scanner’s glass) and place it between the photos and the scanner’s lid to provide an easy-to-recognize background for Crop and Straighten Photos.
