
A layer mask is great for creating masks for a single layer. But what happens when you have several layers that you want to mask all at once? Well, let’s find out why.
In order to create a mask for multiple layers at once, I combine all of the layers I want to mask into a layer set. This allows me to continue to be able to edit each layer, but mask them all at once,
Let’s say we have an image like this one with 4 layers.
What we want to do is to click the link box for all of the layers you want to mask. Here I am linking all 3 layers above the background layer.

Once you have done this, click the arrow button in the upper-right-hand corner. A flyout menu will appear. Choose “New set from linked”.
This will combine all of the layers into one set.
Now that this is done, you can create a mask layer above the new set by clicking the new Mask Layer button at the bottom of you layers palette.
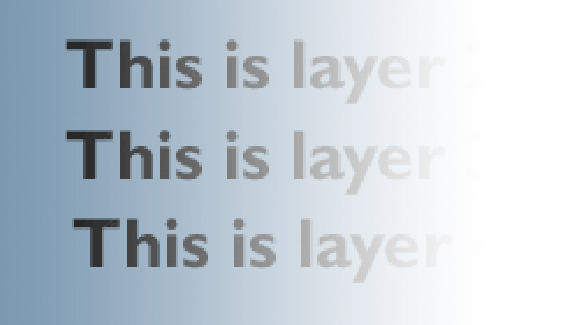
As you can see here, I have added a mask layer and swiped a gradient from left to right with the gradient tool using white as my foreground color and black as my background color.
Here is what it looks like.

You will find a use for this little trick. I am sure of it. I love the fact that I can do this without having to permanently combine the layers that I want to mask. Before Photoshop 6.0, this was the way it was done. Take advantage of this if you can. Talk to you next week.

Absolutely brilliant! A practical no-nonsense approach that is easy to understand and apply. Thanks so much for solving the mystery behind muliple layers and masking.
How do i do this is cs4?
Dorian, I suspect Groups may have taken the place of Sets in later versions of Photoshop. Anyway, this worked for me:
In the Layer window, select the layers you’ve just linked, then on the main menu go to Layer > New > Group from Layers — this creates the group, to which you can then add a mask.