
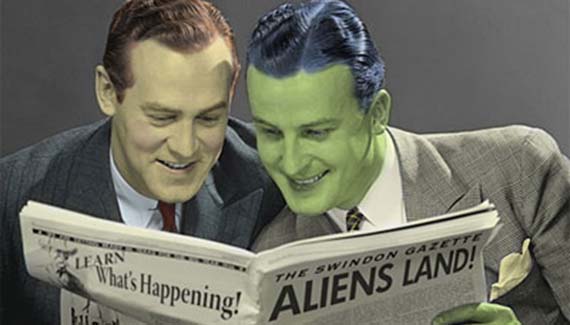
Adding color to a black and white photograph is a great way to give an old family photo a hand-colored look, or give a little extra emphasis to a retro photo like this one. (Original photo courtesy PhotoDisc, headlines courtesy of the author.)

Step 1
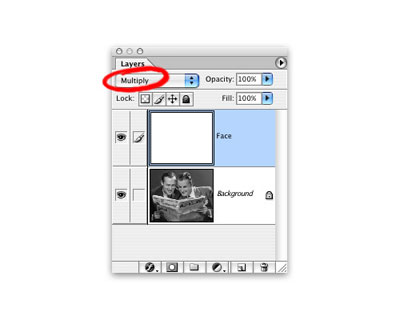
First, change the color mode of the photo from grayscale to RGB (Image> Mode…> RGB). Next, add a new layer, name it Face, and change it’s blending mode from Normal to Multiply- that way, any color we paint in this layer adds itself to the layer underneath.
Step 2
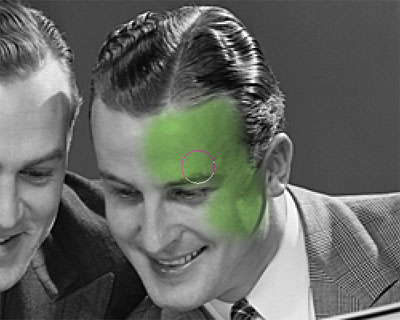
To fit in with the headline, we’ll give the man on the right a greenish skin tone. Select a medium green, and paint on the Face layer. If you are using a Wacom tablet, set the Brush Dynamics to react to pressure with Opacity and you can get a lighter shade of green by pressing softer as you paint.
Step 3
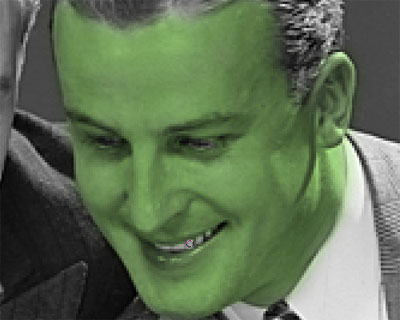
To bring out the eyes and white teeth, switch to the Photoshop Eraser, select a small brush, and erase the green from the teeth and eyes.
Step 4
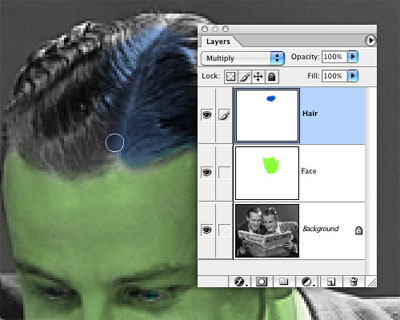
Add a new layer, name it Hair, and set the blending mode to Multiply. Choose a nice blue, and paint in a new hair color. Giving each item (hair, face, etc.) its own layer makes editing much easier- you can erase the hair without touching the face, and change the color of any layer with a Hue/Saturation adjustment layer or by lowering the layer’s opacity.
Step 5
Add a little color to the man on the left, and you’re done- ready for the front page of the Enquirer.


hey thats superb…………. of great help ya
thanks
Hey This is very good for Myself
Good pics………………..