
A lot of designers I know hate math, they are right brained and cannot stand those pesky little numbers cramping their creative style. Something you may not be aware of is the fact that Photoshop is a pretty good mathematician. Photoshop comes with an align and distribute feature that does all the calculations for us.
Lets demonstrate this by creating a metal panel with some rivets on it.
Start with a new document. 300 x 300 pixels.
Apply a linear gradient using the default copper setting.

Create a new layer and name it “rivet”
Choose the elliptical marquee tool.
Change the gradient to radial
![]()
Draw a small rounded selection and fill with the gradient.

Add a bevel layer style
Use the settings here. Make it a “pillow emboss” to give the appearance of the rivet being recessed.

Here is the finished rivet

Duplicate the layer 3 times and roughly space them out. Don’t worry about precision at this point.
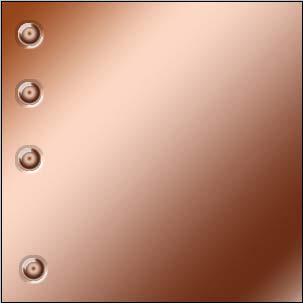
Link all the rivet layers in the layers palette. The align feature will only work on linked layers and wont effect the layers that are not linked.

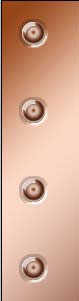
Click the “distribute Vertically” button from the top toolbar.
Notice the rivets are now evenly spaced.
![]()
Click on the align left button and notice that they are now perfectly aligned.
![]()
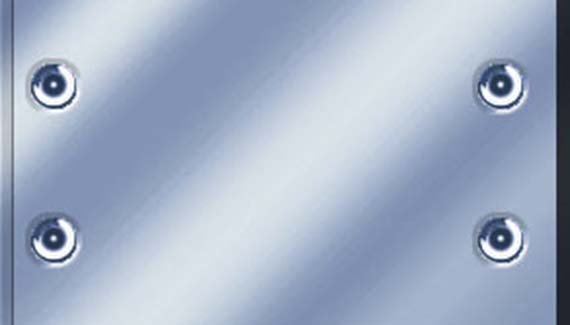
The evenly spaced riverts.
Here I merged the rivets, duplicated the layer and dragged it to the right hand side. I then used curves and the hue/saturation controls to get a nice bluish gray metal feel.
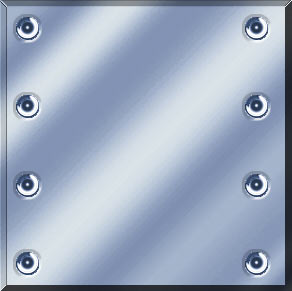
Have fun with the alignment tools and plaster all your images with rivets.
See you at the café www.photoshopcafe.com

Corey:
I spotted your tutorial over here, http://www.webdesign.org/photoshop/photoshop-basics/aligning-layers.33.html. Not sure if this is legit or not, but I figured I would at least let you know.
Brilliant! Thank you I always wondered why I found it impossible to distribute objects and now I know, hehehe. You’re a star.
Short and easy to understand, thanks!
Very good, thank you so much!