
I’m sure that you are already familiar with the fact that save for web is the best way to export your page for the web from Photoshop. But few people realize the power of this little tool. Did you know you can set links and even add text to your web pages in save for web?
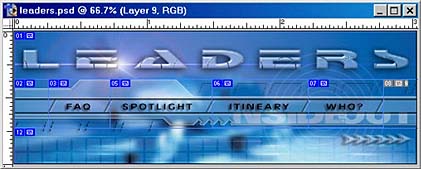
Begin with your sliced image.
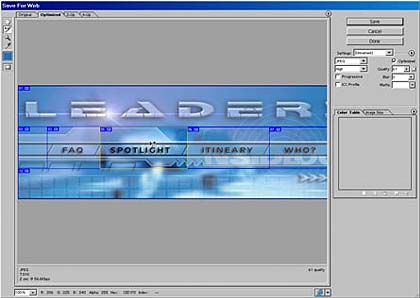
Edit>save for web
The save for web window will open.
Choose the slice select tool and click on a slice. On the right you can adjust the image quality and select a format. I used jpeg.
Double click a slice with the select tool still active and you will see the slice options dialog box pop up.
You can enter a url to link the slice to and even a target if you want to open a frame.
Enter text into the alt box, this will show when the image is being loaded.
Choose a clice that you would like to replace with text.
![]()
Choose the “no image” option and this slice will now become a blank cell.
Click on text is html and type into the window. This will be added as HTML text in the cell on your webpage just as if you had created it in Dreamweaver or Golive.
You can also change the alignment of the text by centering it in the Cell alignment boxes.

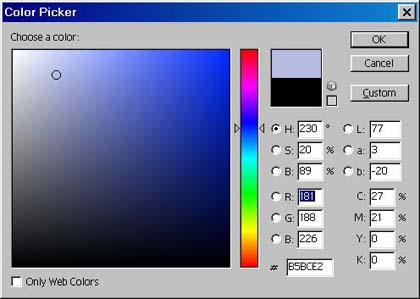
Under background click the box and choose custom.
The color picked will pop up and you can select a color. You can check the “Only Web Color” box to restrict the picker to the 216 web safe colors if you want. Click ok to apply.
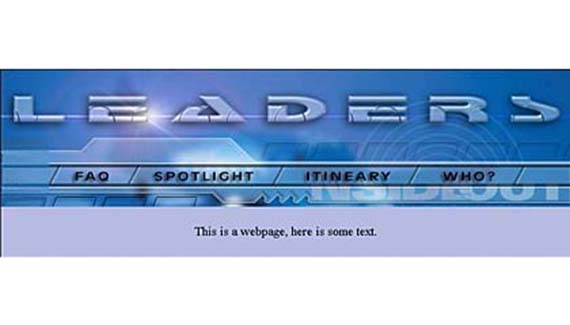
Press the preview in browser button at the bottom of the window.
![]()
And here’s your image in the web browser complete with the text.

Well that wraps it up for this week. I hope you learned some new thongs that will help make you web life a bit easier. See you at the café www.photoshopcafe.com

great!!!thanks
Wow thanks!
I’ve been looking for something like this for ages 🙂
Thanks for these tips. Really useful to know. My page works but i cant get it centered. When i save for web, no table tag is created? and when i add one it makes no difference. any suggestions?
really helpful, thank you!!