

One such question came in yesterday concerning curved type reflected off a surface. Once I wrapped my brain around it the answer was/is very simple, so we’ll tackle it here.
1) Create a new image. Fill the background with Black, and create a new layer.
2) Select the Type Tool. Using a large font with the color set to white/light gray, type your text.
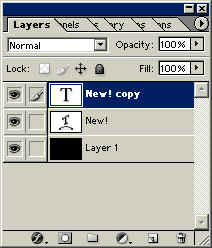
3) Create a copy of the type layer by dragging the layer to the new layer icon on the bottom of the layers palette.

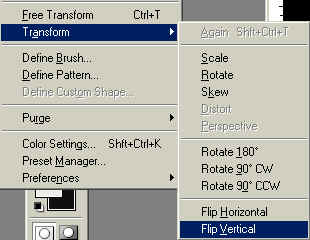
4) Decide which type layer is going to be the reflection. Select that layer, and go to Edit>Transform>Flip Vertical.
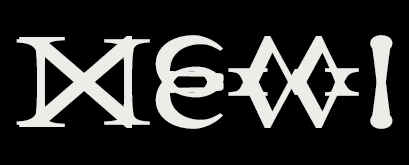
5) Move the reflection down so it is separated from the type.
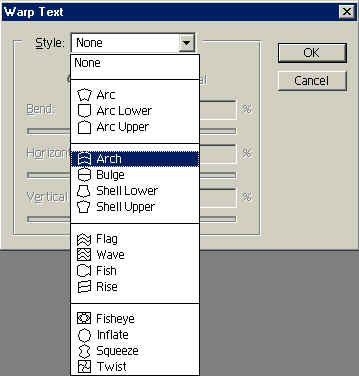
6) Select the ‘upright’ type layer. Click on the Type Tool again, and in the Type Options Bar click on the ‘Create Warped Text’ icon.

![]()
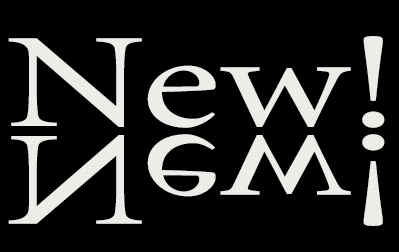
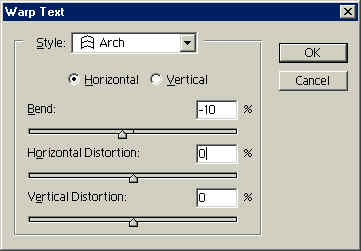
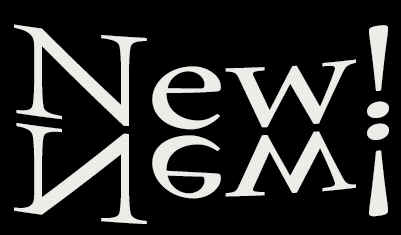
7) In the Warped Text dialogue box that pops up, click the menu icon and select ARCH. Enter a Horizontal Bend setting of -10.
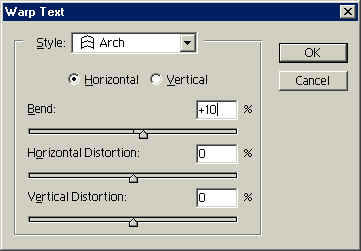
8) Select the Type layer to be used as a reflection. Again, click the Warp Text Icon and select ARCH, but this time enter a Horizontal Bend of +10. Click ‘OK’.
9) Try applying the same layer style ( pick one, any one) to both type layers.

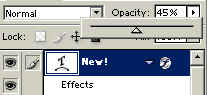
10) Drop the opacity of the reflection type to 40-45%.

That’s about it… nice and easy! Take care, and I’ll see you at Action Fx.

cool
Easy and simple. Thanks